How it Works
Three steps to a beautiful candle
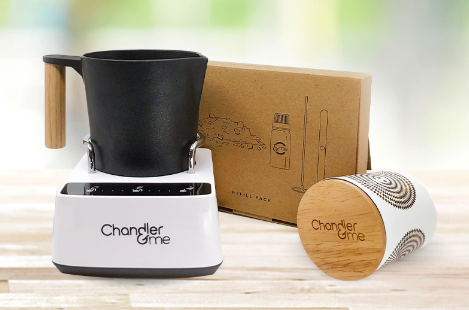
Take a look at just how easy it is to make professional looking (and smelling) candles with The Candle Maker Starter Pack. Everything you need is in the box – your choice of jar and fragrance, the jug, the wax, the wick and The Candle Maker appliance itself. Once you’ve unpacked everything, it’s just three easy steps to making your candle.
Step 1 - Add the wax
Inside your candle making kit you’ll find a bag of fresh soy wax, precisely the right amount for your jar. Tip all the wax into the jug, place the jug on the element and press the first button. Your wax will now melt to the perfect temperature, crucial for making a professional quality candle.


Step 2 - Add the fragrance
The lights on the Candle Maker will indicate when it’s time to add your bottle of fragrance. Tip it all in and watch as the Candle Maker blends the fragrance through the wax. A well-mixed fragrance will ensure a great scent throughout the life of your candle.
Step 3 – Pour to your jar
When the last light on The Candle Maker lights up it’s time to pour your candle. Gently pour the hot wax into the jar and be careful to avoid the wick holder. If you’ve got the kids helping you, great, just remind them that the heating element will be quite hot. The wax itself is now at a perfectly safe temperature. You’ll find that all of the wax will fill the jar to within 1cm from the top, leaving no waste.


Handy hints for best results
- Try to keep the room temperature stable and don’t let air-con units or fans blow onto the candle while it sets
- Pour your candle in a spot where it won’t be disturbed by pets or children during setting
- If pouring on a stone benchtop place a wooden breadboard or a folded tea towel under the candle; this will help with setting
- To clean your jug, simply squirt a dash of detergent and rinse well with hot water and a dishbrush
- Use your candle within 6 months. When it is finished simply wash out the residue from the jar and make another candle in it.
"(Required)" indicates required fields


